There are two ways to install Wwise in Unreal Engine: as a game plugin or as an engine plugin. This post explains how to install it as an engine plugin.
Table of Contents
Differences Between a Game Plugin and an Engine Plugin
Game Plugin
Installed for a specific project
Requires installing Wwise separately for each project
Simple installation process since the Audiokinetic Launcher handles it automatically
For instructions on installing Wwise as a game plugin, please refer to the official documentation.
Engine Plugin
Installed directly into Unreal Engine itself
Can be used across multiple projects within the same Unreal Engine version after a single installation
Requires manual installation
The official documentation labels it as an advanced user feature, but if you follow the steps carefully, it’s not too difficult—so feel free to give it a try!
Installation Steps (Engine Plugin)
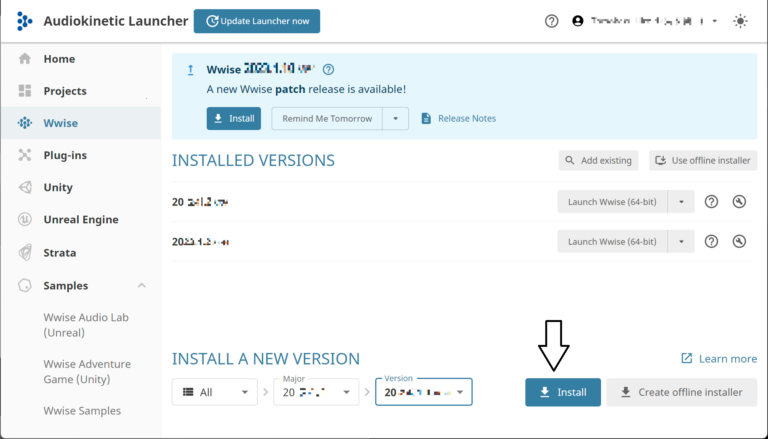
1. Open the Audiokinetic Launcher, go to the Wwise tab, and install the desired Wwise version.
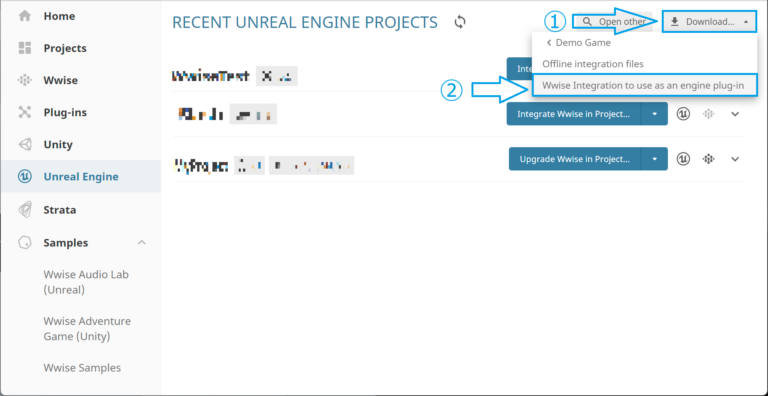
2. Navigate to the Unreal Engine tab in the Audiokinetic Launcher, click the Download button, and select “Wwise Integration to use as an engine plug-in”.
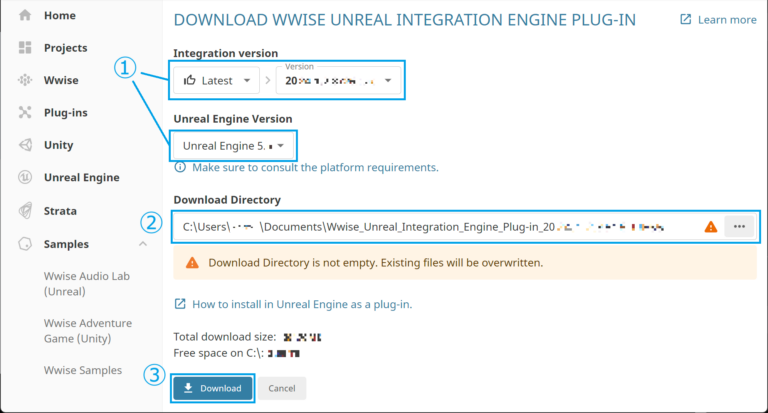
3. Choose the Wwise and Unreal Engine versions for integration, select a download directory (by default, it is set to C:\Users\<username>\Documents\Wwise Unreal Engine Integration Engine Plug-in), and download the files.
4. Copy the Wwise SDK from: C:\Program Files (x86)\Audiokinetic\Wwise20xx.x.x.xxxx\SDK
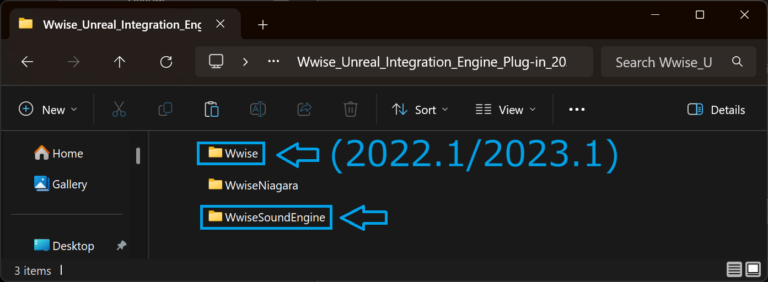
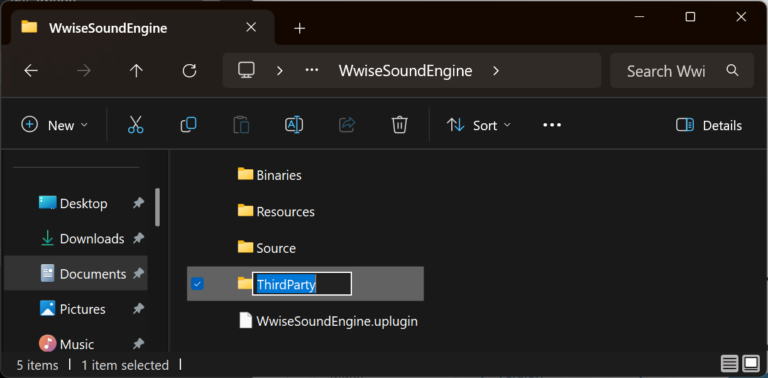
5. Paste the copied SDK folder into the WwiseSoundEngine folder inside the directory downloaded in Step 3. (For Wwise 2022.1/2023.1, paste it inside the Wwise folder instead.)
6. Rename the copied SDK folder to “ThirdParty”.
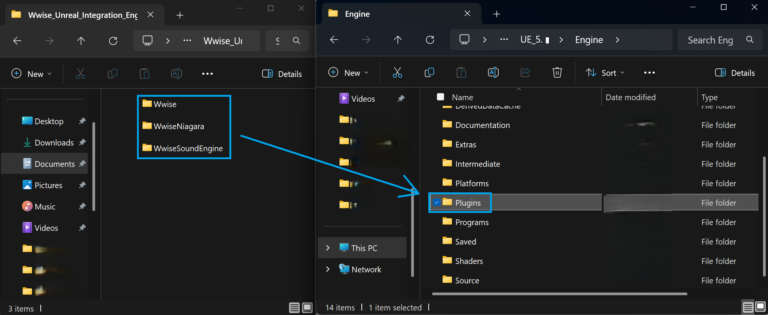
7. Copy all folders from the downloaded directory (Wwise, WwiseNiagara, WwiseSoundEngine) into the Unreal Engine Plugins folder: ...\<UE installation directory>\Engine\Plugins.
The installation is now complete. Next, I will explain the initial setup process.
Project Setup
1. Create a new Unreal Engine project and a new Wwise project.
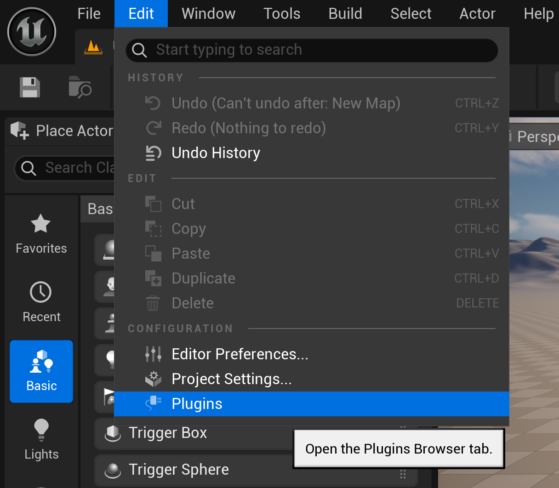
2. In Unreal Engine, go to the toolbar and select Edit > Plugins.
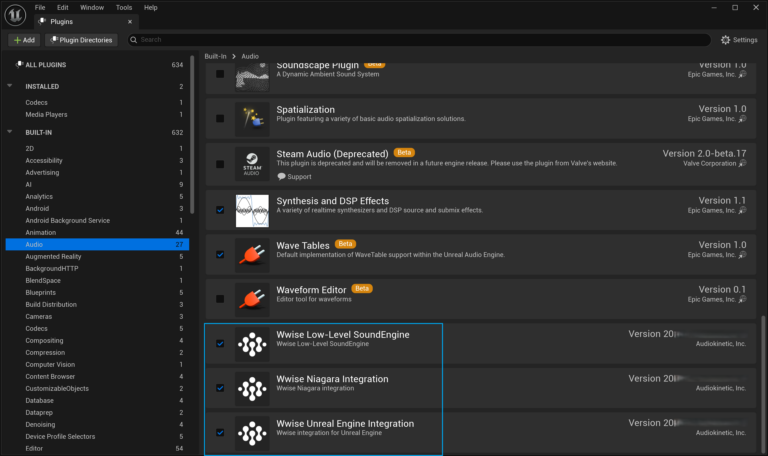
3. Navigate to Installed > Audio and ensure that the following options are enabled:
✅ Wwise Unreal Engine Integration
✅ Wwise Low-Level SoundEngine
(Optional) Wwise Niagara Integration if needed.
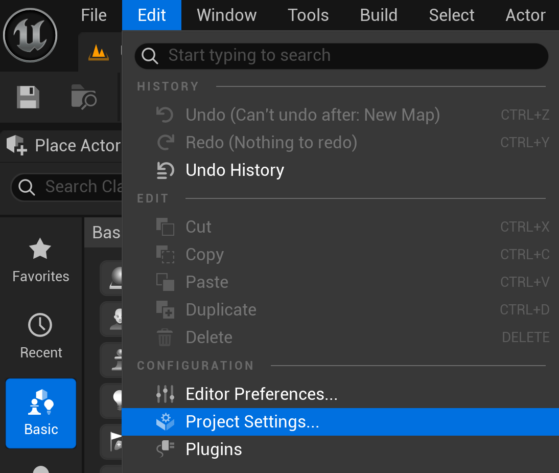
4. In the toolbar, go to Edit > Project Settings.
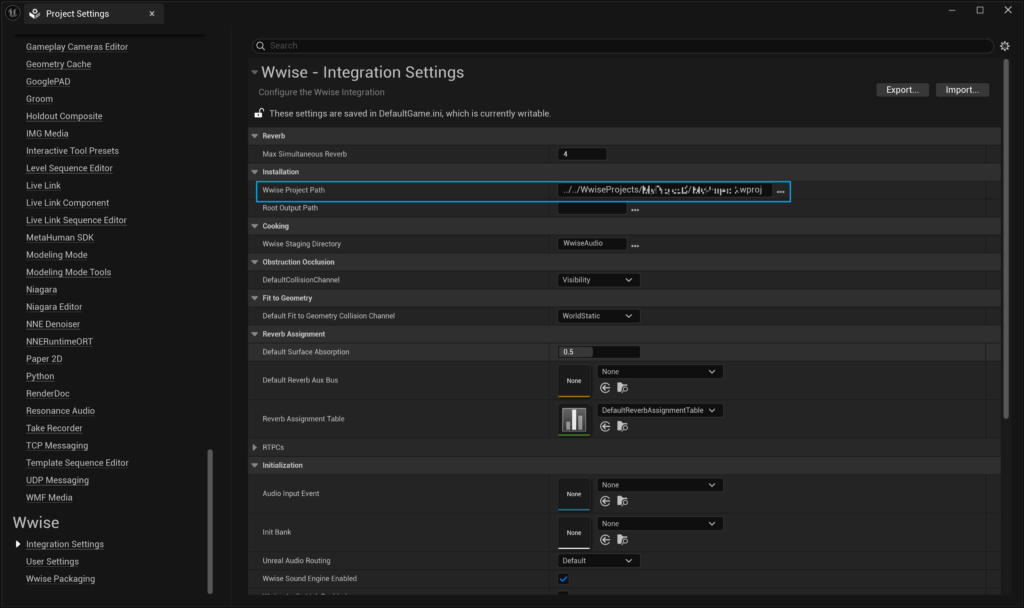
5. Under Wwise > Integration Settings, specify the Wwise Project Path in the Installation section.
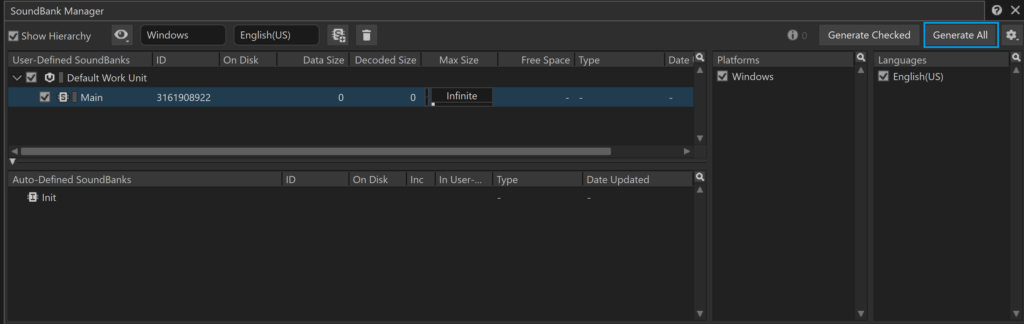
6. (Wwise) Generate the Sound Bank.
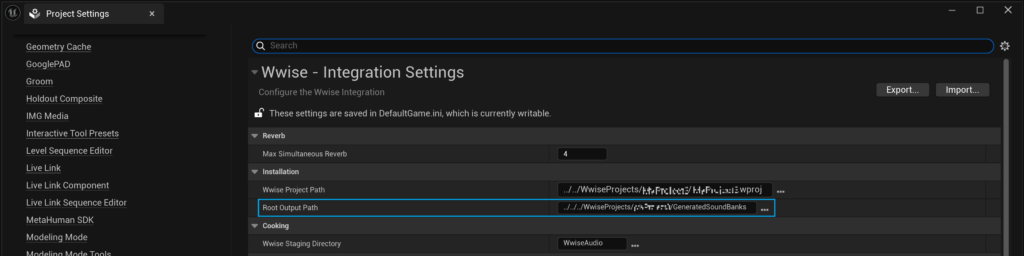
7. In Edit > Project Settings > Wwise > Integration Settings, specify the Root Output Path (by default, it is set to the GeneratedSoundBanks folder within the Wwise project directory)
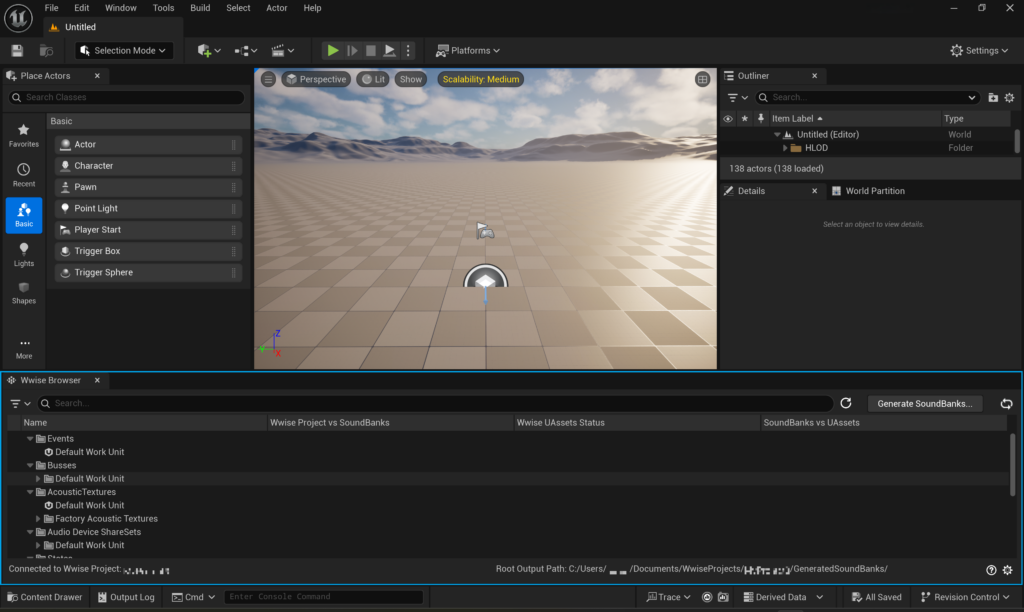
8. Open the Wwise Browser (Window > Wwise Browser) to verify that it is properly synchronized.
* If Auto-Defined SoundBanks was enabled when creating the Sound Bank, the InitBank may not load properly. If this happens, simply restart Unreal Engine, and it should load correctly.
By following these steps, you can successfully integrate Wwise as an engine plugin in Unreal Engine and use it across multiple projects efficiently!